
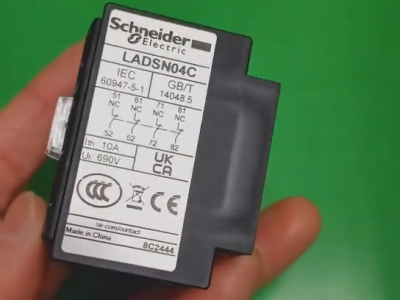
Schneider LADN04C
Product description

Schneider LADN04C is an auxiliary contact module for Schneider TeSys D series contactors.
Contact Type: 4NC (4 Normally Closed contacts).
Rated Parameters: Rated voltage is typically 220V, rated current 10A, with a mechanical life and electrical life of up to 10 million operations.
Mounting Method: Front clamping mounting, compatible with AC contactors of the LC1-D09…D620 series and other relevant models.
Application Scope: Suitable for industries, infrastructure, construction, and other fields, as well as various occasions requiring motor starters.
Product Certifications: Certified by CE, CCC, CSA, UL, and other international standards, ensuring compliance with relevant norms and requirements.
As a front clamping-mounted auxiliary contact module of the TeSys series, the LADN04C is compatible with LC1-D series contactors and other compatible models. Its installation requires no additional tools, featuring simple and easy-to-operate steps. The specific process is as follows:
1. ower Off and Verification: Before installation, disconnect all power supplies to the corresponding contactor and associated circuits. Use a voltage detection device to confirm no residual voltage exists, so as to avoid hazards such as electric shock or arc flash during installation.
2. Align the Mounting Position: The module adopts a snap-on front mounting design. Locate the auxiliary contact mounting area on the front of the LC1-D series contactor, align the snap grooves of the LADN04C module with the corresponding protruding slides on the contactor, and ensure the transmission paddle on the module is aligned with the moving contact bracket of the contactor—this is crucial to ensuring the contacts switch synchronously with the contactor's operation.
3. Secure the Module: After alignment, hold the module with both hands and press firmly toward the contactor until a "click" sound is heard, indicating that the module's snaps are fully engaged in the contactor's card slots. Gently pull the module afterward; if it does not loosen, the module is properly installed with no need for additional screws.
4. Wiring Operation: The module is equipped with screw-clamp terminals. According to the requirements of the control circuit, connect the external control wires to the corresponding terminals of the module. During wiring, ensure the wire gauge is compatible, and tighten the terminal screws to prevent poor contact caused by loose connections. After wiring, gently pull the wires to confirm they are securely fastened and will not fall off.
5. Installation Verification: Manually press the contactor's operating lever repeatedly to simulate the contactor's energized (closed) and de-energized (open) states, and check whether the auxiliary contacts of the LADN04C switch synchronously and normally. Alternatively, after subsequent power-on, further confirm the module operates properly (without jamming, poor contact, or other issues) through control circuit testing.
More recommendations
-

Schneider LC1E400 Contactor
-
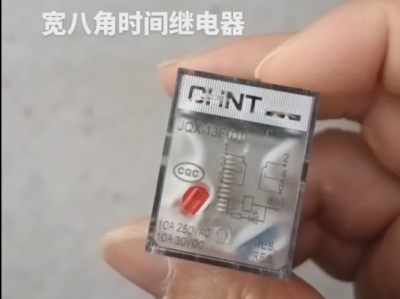
Chint JQX13F Electromagnetic Relay
-
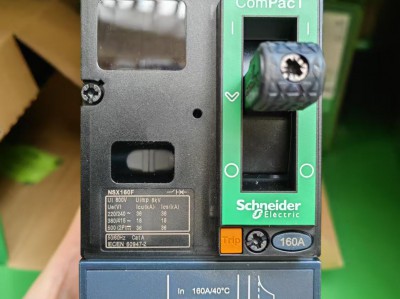
Schneider C16F2TM160 Circuit Breaker
-
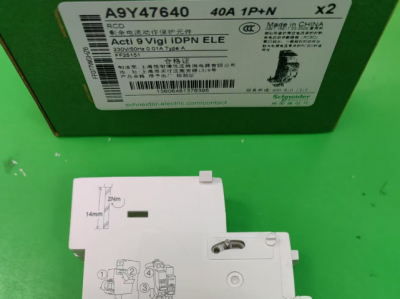
Schneider A9Y47640
-
Schneider LADN04C
-
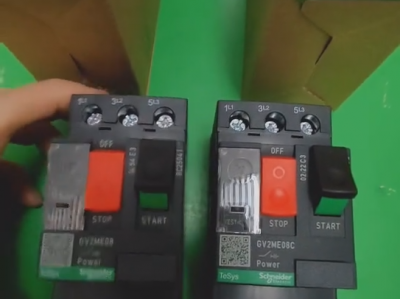
Schneider GV2ME08C motor circuit breaker
-
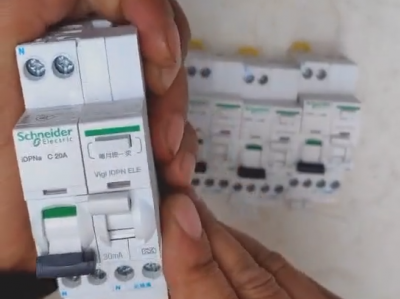
Schneider IDPNa C20A miniature circuit breaker (MCB)
-
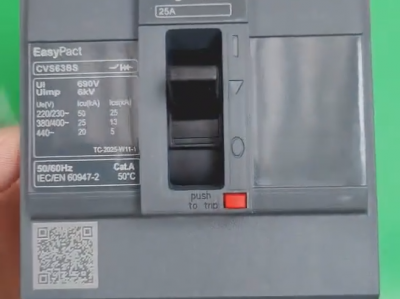
Schneider CVS63BS25A molded case circuit breaker (MCCB)
-
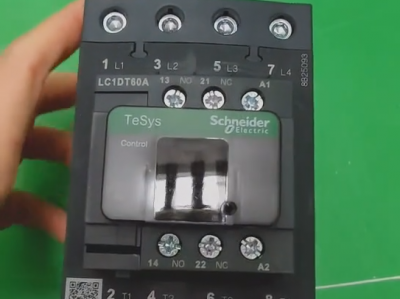
Schneider LC1DT80 4-pole contactors
-
Schneider Electric Circuit Breaker Model A9P28620